Saddle Stitching - The Process
Do you know why saddle stitching is so time consuming?
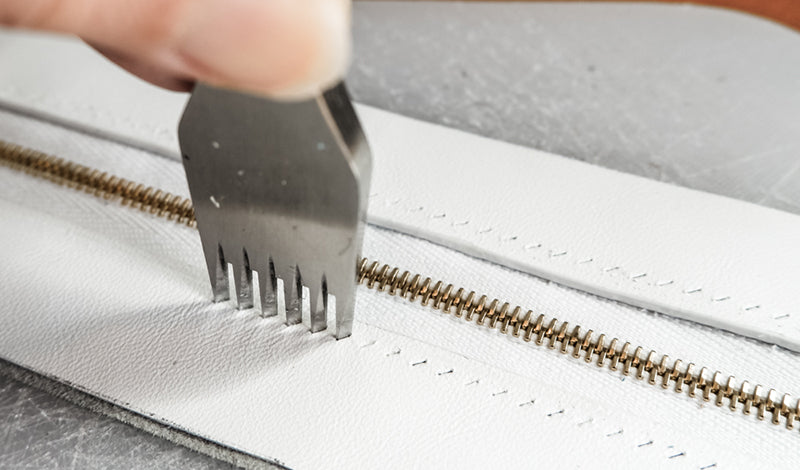
In addition to being done entirely by hand, it needs to be done in two steps. The needles used for stitching are blunt. They're not intended for poking holes the way regular sewing stitches are. Because leather is so thick, the holes need to be poked in advance, either one at a time with a stitch marker and awl, or several at once with a pricking iron. I prefer the latter, as it's faster and more precise. Here's what that looks like:


As you can see in these pictures, a pricking iron looks kind of like a fork. It has sharp, angled prongs which help create the beautiful angled stitches that are the hallmark of saddle stitching. Pricking irons come in many sizes and stitch lengths for different types of projects. And you place them like this, then whack the top with a mallet to cut the holes into the leather.
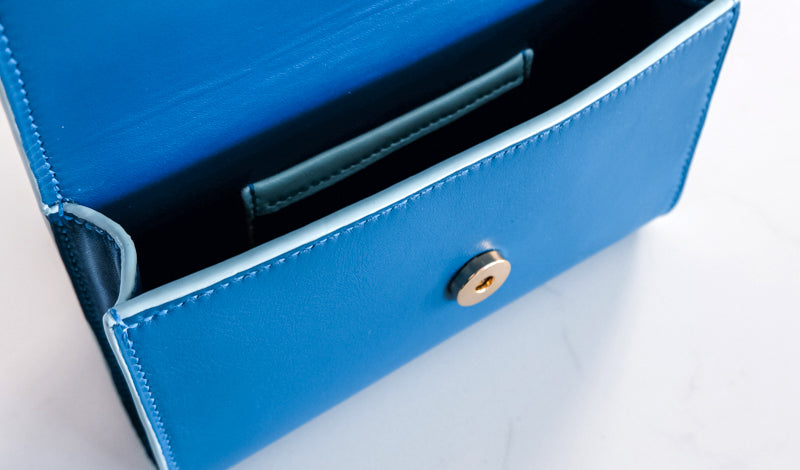
After stitching them up neatly, the final result looks like this:

And this is also my first-ever zipper placket. Not too shabby, if I do say so myself!


Leave a comment
This site is protected by reCAPTCHA and the Google Privacy Policy and Terms of Service apply.